Frequently Asked Questions
📩 Send Us a Message
Do you offer international shipping?
Yes, we offer international shipping. You can place an order through our official website or authorized retail partners, and we ship to most countries and regions.
If you're unsure whether we ship to your location, feel free to contact our customer support team for assistance.
Does Kinhank MotionX need Internet?
Kinhank MotionX requires an internet connection for the initial setup, system updates, and game downloads. Once your games are downloaded, you can enjoy all of them offline—no WiFi needed to play.
However, we recommend connecting to WiFi regularly to access new games, as our game library is constantly growing, with fresh titles added every month.
What is the voltage needed?
Kinhank MotionX supports universal voltage (100–240V), so you can use it anywhere in the world without the need for a voltage converter.
Depending on your location, you may need a plug adapter to fit your local power outlet.
Will it come with a power adapter for my country?
Currently, we provide standard US and EU power adapters. For other regions, we include the appropriate plug converter based on your shipping address.
If you have specific requirements, feel free to leave a note at checkout or contact our support team.
Which languages does it support?
It supports multiple languages including English, French, German, Spanish, Korean, Japanese, Portuguese, Italian, Russian, Simplified Chinese, and Traditional Chinese.
Installation & Setup
How do I connect and install the device? Do I need a professional?
Kinhank MotionX is designed for easy plug-and-play setup. Simply connect it to your TV via HDMI, plug in the power adapter, and follow the on-screen instructions. No professional installation is required.
Does the device need to be connected to the internet for first-time use?
Yes, an internet connection is required for the initial setup, system updates, and downloading games. After that, you can enjoy most games offline.
Is there a mobile app or smartphone control available?
Currently, there is no mobile app available. The device supports control via the included remote control and motion gestures only; smartphone control is not supported.

1. Place the Kinhank MotionX at a suitable height.
Position it between 15″–60″ (40–140 cm) from the ground.

2. Put Kinhank MotionX close to the edge.
This allows the camera to capture as much of the play area as possible.

3. Do not block the camera.
Keep the camera lens clean and unobstructed.

4. Connect Kinhank MotionX to the TV via HDMI .
Select the corresponding input source on your TV.

5. Connect Kinhank MotionX to Power Supply.
Use the original power cable provided.

6. Follow the on-screen setup guide:
Let's get started.
Tips:

1. Clear your play area before you start.
Make sure there’s nothing in the way so you can move around safely and have fun!

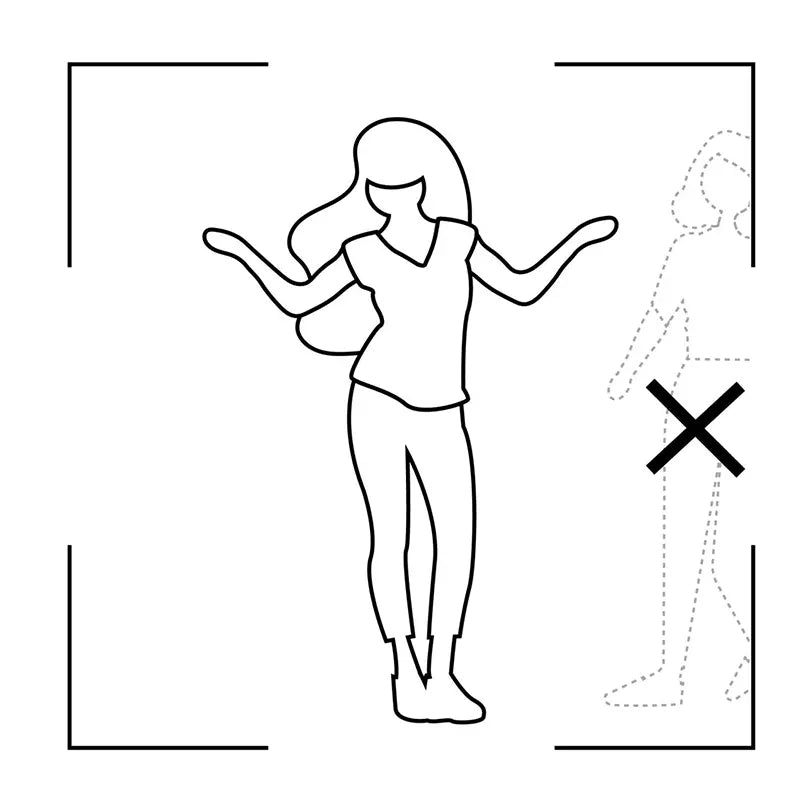
2. Wear clothes that stand out from your background.
The camera may have trouble recognizing your movements.

3. Keep your play area well-lit and avoid backlighting.
Avoid lighting that is too dim or too harsh, as it may affect camera recognition.

4. Try to keep just one player in front of the camera at a time.
Too many people in the view might confuse Kinhank MotionX when it’s trying to follow your moves.

5. Turn on Game Mode on your TV (if available).
This helps make your gameplay smoother and more responsive. If your TV doesn’t have this option, no worries—you can still have a great time!
Step 1: Find the Retro X app and open it.

Step 2: Start setting up the Retro X follow the tips.

Step 3:

Step 4: Select the data directory which will contain your settings,gamelists, scraped media etc. lt's recommended to name it Retro X

Step 5: Select the directory where you want to keep your games, it'srecommended to name it ROMs (you also need to add at leastone game there after setup or Retro X will not start)

Step 6: This will create directories for all supported game systemsinside your ROMs folder and it will also create systeminfo.txtfiles which contain useful information about each system.

Step 7: Setup complete
Retro X has now been configured but you'l need to install youremulators separately. Also be aware that some emulatorsneed to have ROM directory permissions configured as well, oryour games will not start

Any modern television with a spare HDMI port is compatible with the Kinhank MotionX. For the best experience, a screen size of 50 inches or larger is recommended.
When new free games are available, your console will notify you if it's connected to Wi-Fi. You can then download them directly to your motion built-in game console with a single click.
The motion built-in game console uses an advanced 3D depth-sensing camera powered by AI to track your body’s movements with precision.
